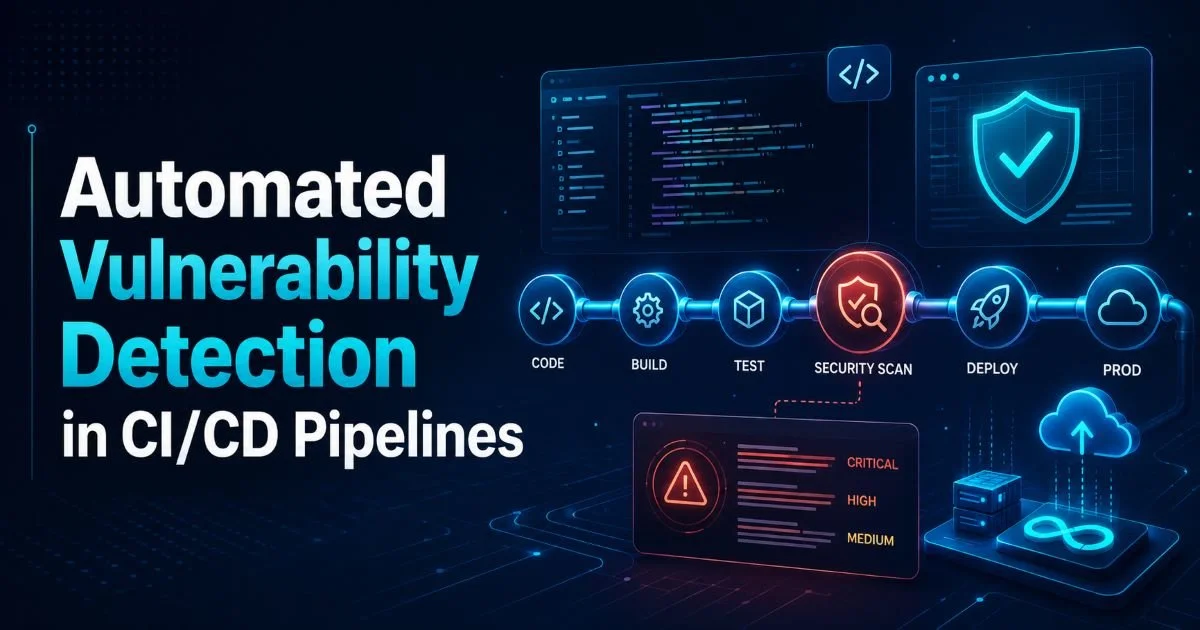
Code security scanning in CI/CD pipelines has shifted from a nice-to-have practice to an operational necessity. Every time a developer pushes a commit, there's a window where vulnerabilities can slip into production undetected. Static code analysis and automated vulnerability detection tools close that window by catching flaws before they reach your users.
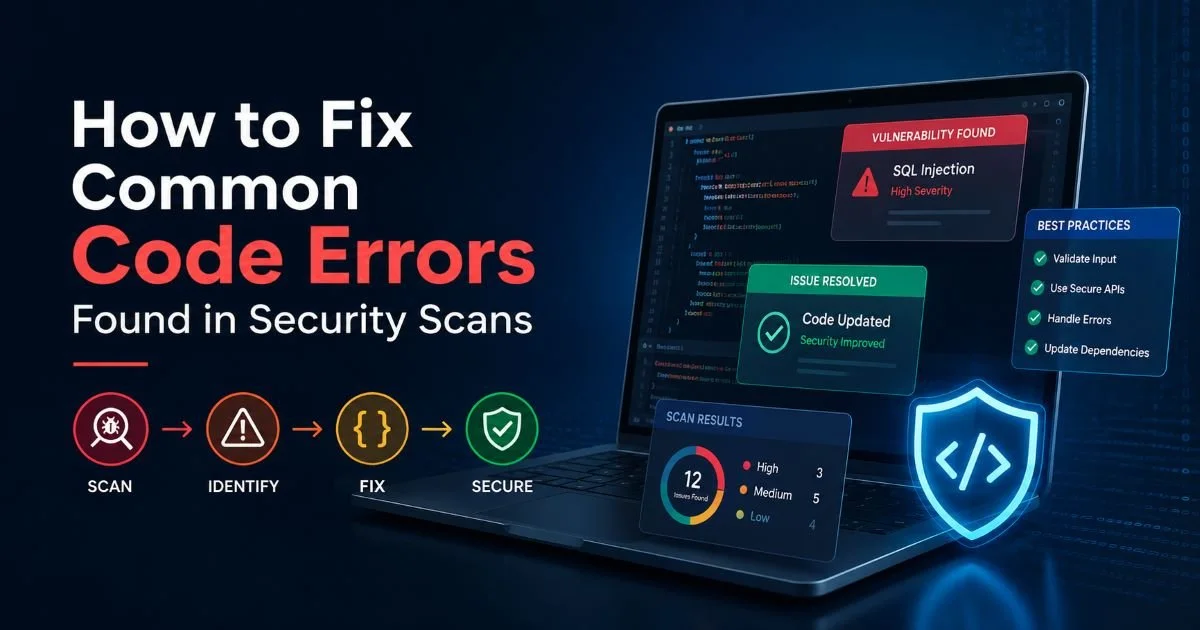
The cost of fixing a bug in production is roughly 30 times higher than catching it during development, which makes the case for early detection overwhelming. If your team is already running automated tests in your pipeline, adding security scans is a natural next step. This guide walks you through the practical steps of integrating automated vulnerability detection into your CI/CD workflow, from selecting the right tools to tuning results so your team actually acts on them. For a broader perspective on addressing the issues these scans uncover, see how to fix common code errors found in security scans. The goal is fewer surprises in production and a development team that writes secure code by default.
Key Takeaways
- Integrate security scans early in your pipeline to catch vulnerabilities before they compound.
- Use a combination of SAST and SCA tools for comprehensive code error checking.
- Configure quality gates that block deployments when critical vulnerabilities appear in scans.
- Tune your scanner rules to reduce false positives and maintain developer trust.
- Automate secure code review feedback directly into pull requests for faster remediation.
Step 1: Choose Your Scanning Tools and Define Coverage
Before you write a single line of pipeline configuration, you need to understand what kinds of vulnerabilities you're trying to catch. Static application security testing (SAST) tools analyze your source code without executing it, looking for patterns that match known vulnerability classes like SQL injection, cross-site scripting, and buffer overflows. Software composition analysis (SCA) tools, on the other hand, examine your third-party dependencies for known CVEs. Most production systems need both.
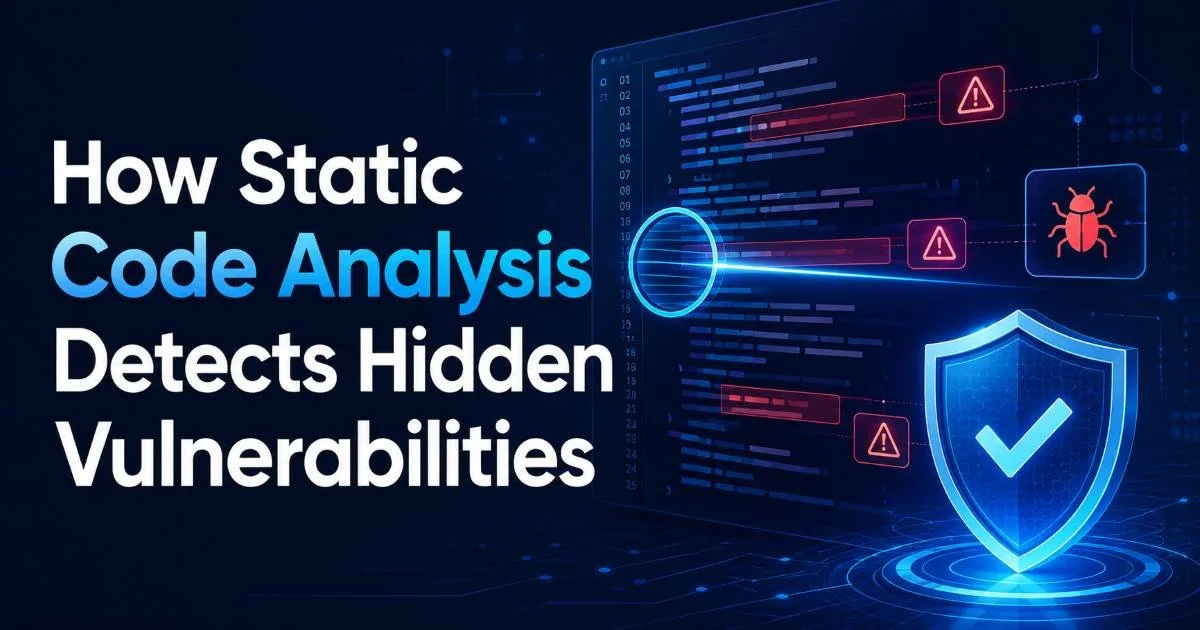
The tool you choose should support your primary programming languages and integrate with your existing version control system. For teams working with Java, tools like SpotBugs with the FindSecBugs plugin offer deep analysis. Python teams often reach for Bandit, while JavaScript projects benefit from ESLint security plugins combined with npm audit. Understanding how static code analysis detects hidden vulnerabilities will help you evaluate which tool matches your threat model best.
SAST vs. SCA: Know the Difference
SAST examines code you wrote; SCA examines code you imported. A common mistake is deploying only one type and assuming full coverage. Your application might have pristine first-party code but rely on a logging library with a critical remote code execution flaw. Running both in parallel gives you a realistic picture of your actual attack surface rather than a partial one.
When evaluating tools, consider the total cost of ownership, including licensing, maintenance, and the developer time spent triaging results. Free tools like Semgrep provide excellent baseline coverage, while commercial options like Checkmarx or Snyk offer deeper analysis and managed rule updates. If your team also manages APIs, you may find it useful to review the best API management tools to secure that layer alongside your codebase.
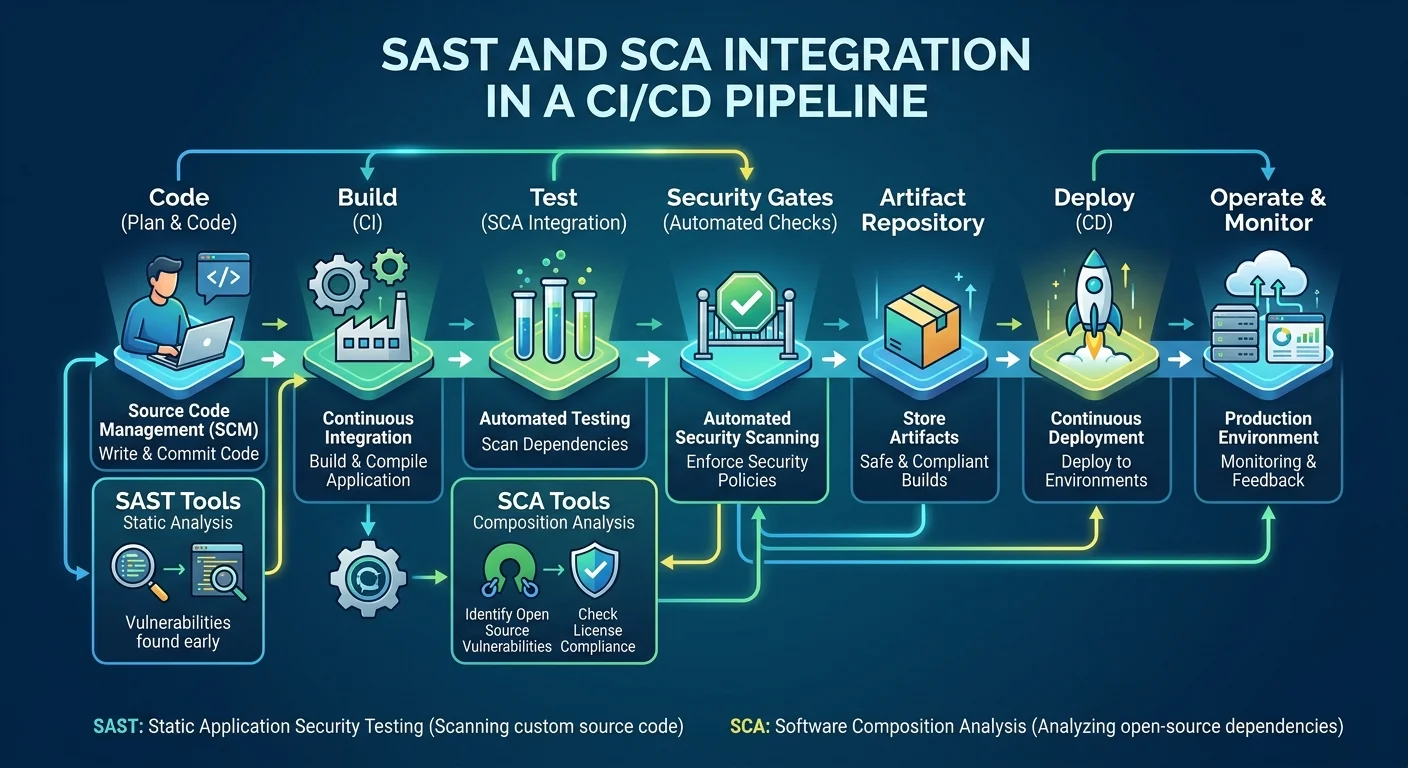
Step 2: Integrate Scans Into Your CI/CD Pipeline
Once you've selected your tools, the next challenge is placing them in your pipeline so they run automatically without creating bottlenecks. The principle is straightforward: scan as early as possible, but don't block developers on every low-severity finding. Most teams use GitHub Actions, GitLab CI, or Jenkins for orchestration, and every major scanning tool provides pre-built integrations for these platforms.
Where to Place Scans in Your Pipeline
A proven pattern is to run lightweight SAST scans on every pull request and more comprehensive scans on merges to the main branch. For pull requests, you want results in under five minutes; otherwise, developers will start ignoring them. Configure your SAST tool to run incrementally, analyzing only changed files rather than the entire codebase. This keeps feedback loops tight and relevant to the work being reviewed.
Here's a practical example for a GitHub Actions workflow. You'd add a job that runs Semgrep after your unit tests but before your deployment step. The configuration lives in your repository's workflow YAML file, making it version-controlled and reviewable just like any other code. Set the scan to post results as inline comments on the pull request so developers see findings in context rather than in a separate dashboard they'll never check.
Run SAST on pull requests with a 5-minute timeout and full scans nightly to balance speed with thoroughness.
SCA scans should trigger whenever dependency files change (package.json, requirements.txt, pom.xml) and also on a scheduled basis, since new CVEs are published daily against existing library versions. Tools like Dependabot or Renovate can automate dependency update PRs, which then trigger your security scan automatically. This creates a continuous loop of vulnerability detection and remediation without manual intervention. The difference between static analysis and manual code review becomes clear here: automation catches what humans consistently miss at scale.
Step 3: Configure Quality Gates and Severity Thresholds
Having scans that report findings is only half the solution. Without quality gates, scan results become noise that teams learn to ignore. A quality gate is a pipeline rule that blocks progression (merging, deploying) when specific conditions aren't met. The most effective approach assigns severity levels to findings and blocks only on critical and high-severity issues while still reporting medium and low findings for awareness.
Building a Severity Classification System
Not all vulnerabilities carry the same risk. An SQL injection in a user-facing endpoint is fundamentally different from an informational finding about a missing Content-Type header. Your classification system should account for exploitability, data sensitivity, and whether the vulnerable code is reachable in production. Most SAST tools provide their own severity ratings, but you should customize these to match your application's risk profile.
| Severity Level | Pipeline Action | Response Time Target | Example Findings |
|---|---|---|---|
| Critical | Block merge/deploy | Fix before merge | SQL injection, RCE, hardcoded secrets |
| High | Block deploy only | Fix within 48 hours | XSS, insecure deserialization |
| Medium | Warn in PR | Fix within 2 weeks | Missing input validation, weak crypto |
| Low | Log only | Fix in next sprint | Verbose error messages, minor misconfigs |
When setting up gates, start permissive and tighten over time. If your codebase has never been scanned, the first run will likely produce hundreds of findings. Blocking everything immediately will halt all development. Instead, establish a baseline of existing findings (sometimes called "technical debt"), exclude those from gate enforcement, and apply strict rules only to new findings. This approach lets teams make progress without inheriting the sins of the past all at once.
Never suppress critical findings to unblock a release. If your gate catches an SQL injection, that pipeline should stay blocked until the code is fixed.
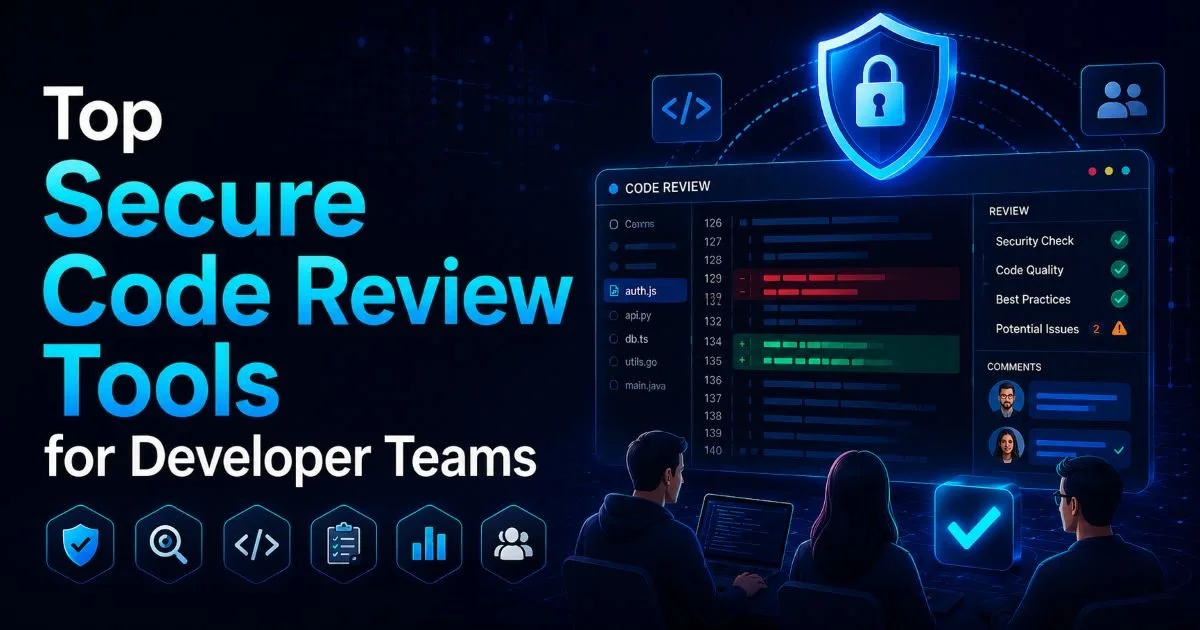
Document your quality gate policies in a shared engineering wiki and review them quarterly. As your team matures, you can gradually lower the threshold for what blocks a deploy. Some organizations eventually gate on medium-severity findings too, but this only works when false positive rates are under control. The teams using top secure code review tools effectively tend to reach this maturity level faster because those tools produce more actionable, accurate results.
Step 4: Tune Scanners and Maintain Long-Term Effectiveness
The biggest reason automated vulnerability detection fails in practice isn't the tooling; it's alert fatigue. When a scanner flags 200 findings on every pull request and half of them are false positives, developers stop reading the output. Tuning your scanner's rules is not optional. It's the difference between a security program that works and one that exists only on paper. Spend time upfront configuring which rules apply to your codebase.
Reducing False Positives Without Losing Coverage
Start by running your chosen tool against your codebase and categorizing every finding as true positive, false positive, or acceptable risk. For each false positive pattern, create a suppression rule with a documented justification. Most tools support inline suppression comments (like // nosemgrep or // NOSONAR) and centralized configuration files. Prefer centralized configs because they're easier to audit and don't clutter your source files.
"A security scanner that developers trust and actually read is worth ten times more than a comprehensive scanner everyone ignores."
Schedule monthly reviews of your scanner configuration. New rules get added to tools regularly, and your codebase evolves. A rule that produced false positives six months ago might now catch real issues due to architectural changes. Track your false positive rate as a metric, aiming to keep it below 20%. When developers flag a finding as incorrect, have a process for evaluating and updating the rule configuration promptly. This feedback loop maintains trust in the system.
Beyond tuning individual rules, periodically benchmark your tooling against known vulnerability test suites like OWASP Benchmark or intentionally vulnerable applications like WebGoat. This validates that your configuration still catches what matters. If your scanner misses known test cases, you've likely over-suppressed. Track coverage metrics alongside false positive rates to maintain a healthy balance between noise reduction and actual security.
When updating scanner versions, always run against your baseline first. Rule changes in new versions can shift severity levels or introduce new false positive patterns.
Frequently Asked Questions
?Where in the CI/CD pipeline should I place security scans?
?Can I run just SAST and skip SCA if my team writes clean code?
?How much pipeline time do security scans actually add?
?What's the biggest mistake teams make after adding vulnerability scans?
Final Thoughts
Automated vulnerability detection in your CI/CD pipeline is a force multiplier for security. The four steps outlined here, selecting the right tools, integrating them at the right pipeline stage, configuring meaningful quality gates, and tuning for accuracy, form a practical framework that mid-level developers can implement incrementally.
You don't need a dedicated security team to get started. Start with one SAST tool on your most critical repository, enforce gates on critical findings only, and expand from there. The compounding effect of catching code errors early, every single build, transforms your team's security posture within months.
Disclaimer: Portions of this content may have been generated using AI tools to enhance clarity and brevity. While reviewed by a human, independent verification is encouraged.